Tuesday, 24 April 2012


Today I bring you a swatch. Not my usual lately, I know. I'm more of a nail artist to be honest, but I've had this color sitting in one of my polish drawers since Christmas. Looking at it now, I really don't know why I never used it before.


This is Orly brand polish in Shimmering Mauve. Personally, I wouldn't call this mauve. To me, a color has to have at least a hint of purple to qualify as mauve. I would say this is more one of the many rose shades. Rose vale, maybe? 


And yet, no matter the specifics of naming, it is gorgeous! Shimmering Mauve is a polish I mistook for a pearl in the bottle and might contribute to why it sat around unused for so long. Even on my nails it still has a slight pearl finish in certain lights.


It goes on very smoothly. I found it had little to no streaking. It is also very opaque. It was simply habit that had me putting on two coats. This can certainly be a one-coater polish! Every girls dream, right?


Taken in the shade. It looks nearly pearlescent here, doesn't it?

This color reminds me of old fashioned elegance with a new age flair. This is a color that can travel generations. It's a color, without the pearly metallic, that I recently saw my 103-year-old Great Aunt wearing. God rest her soul, she's no longer with us as of last week. This is a color that my mother would love and a color that I am greatly enjoying wearing.


What do you think? Is it a color for you?

Monday, 23 April 2012

Ladies and gentlemen, boys and girls, children of all ages ... today I present circus nails!!!


Okay, being truthful. I was a bit disappointed with both the circus and these nails.


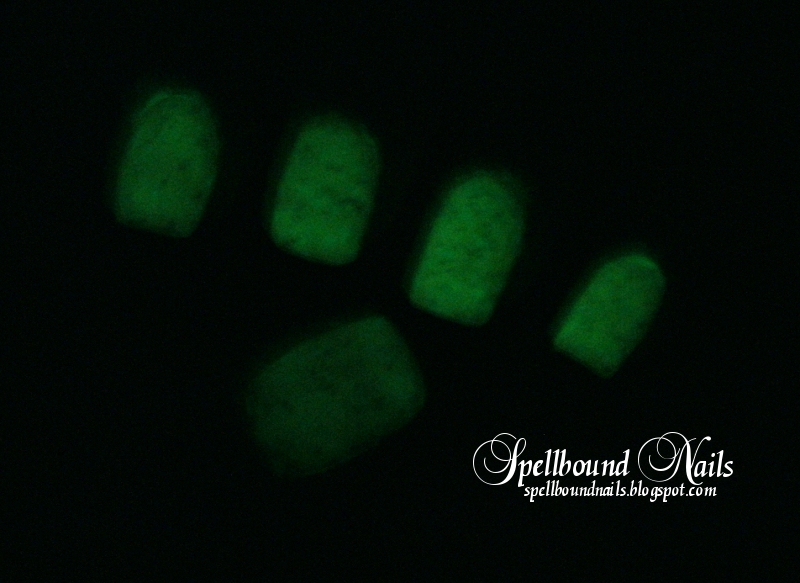
This is two coats of China Glaze Riveting with a coat of Wet n Wild Party of Five Glitters and though I didn't count after the first three coats ... anywhere between five and ten coats of Fantasy Maker Night Glow, a glow in the dark polish from the creators of Wet n Wild.


This picture is more true to color. The glow in the dark polish is cloudy and somewhere between a cloudy clear and a cloudy yellow/green. You can see that Riveting has lost its bright and fiery gleam with so many coats of glow in the dark polish. I wouldn't have minded so much but Night Glow is very old and has lost most of its glow. I did not know this when I was layering it on. I expected for the lights to go out at the circus and my nails to grab nearly as much attention as the circus acts themselves ... at least from my nieces.


Sadly, this didn't happen. The nails didn't glow at all during the circus!


I only managed to get the glow in the dark pics by quickly holding my nails to the bathroom light, flicking off the lights and snapping the pictures. These pics are also taken through my editing program and the glow brightened so you can actually see it! Very disappointing!! I will have to look into getting more of this polish.


Here is the original, unedited version of the first glow picture. You might see the glow if you highlight it first. The unedited second picture is even worse and not worth posting.

The only thing more horrible than a bad nail design is a polish that's gone bad ... even worse when it's gone bad unnoticed. :(

Sunday, 22 April 2012

Hello, my lovelies! I'm getting this post out a bit later than I was hoping. I went to the circus with family yesterday and overslept this morning. I woke up to a rainy, cloudy, just plain yucky day so pictures took longer too. However, I have pictures of my circus nails for tomorrow to look forward to. Yay!


For today though, it's Earth Day nails. I had so many ideas for this design but then I stumbled across the Earth Day Network Philippines 2011 logo and it was perfect. 


It combined everything I thought of when I thought of Earth Day. The sun, the trees, the water, and the air. I changed the design very slightly slightly to make it work on my nails.


Cloud nails were something I've been dreaming of doing, and I'm happy I finally got my chance. Of course, I used my new favorite color for the sky: I Need a Refresh-Mint. You guys are probably getting sick of it!


I also used China Glaze, Blue Year's Eve. I use this whenever I need water. The shimmer floating in the sea of gleaming blue just screams water to me, like a deep refreshing pool of water. ?


Did you gals do anything special for Earth Day? Paint your nails? Plant a tree? Hold a fundraiser?

Saturday, 21 April 2012


Yardley isn't a brand  I'd normal go for but I'm glad I had the chance to try them out. I am a big fan of Yardley's packaging - very British and luxurious. They look great in my bathroom! I think this brand is very much associated with older women, I have to admit that this shouldn't be the case & I have fallen in love with one of their products. They are also surprisingly affordable!

Peony Shower Cream �3.50
Lathers really easily, also works great as bubble bath. Doesn't leave my skin feeling dry and smells delish.
Peony Body Lotion �5.99
This body lotion is nice, I like the fact it comes with a pump dispenser - less product wastage! I think the main selling point for this is the strong scent.
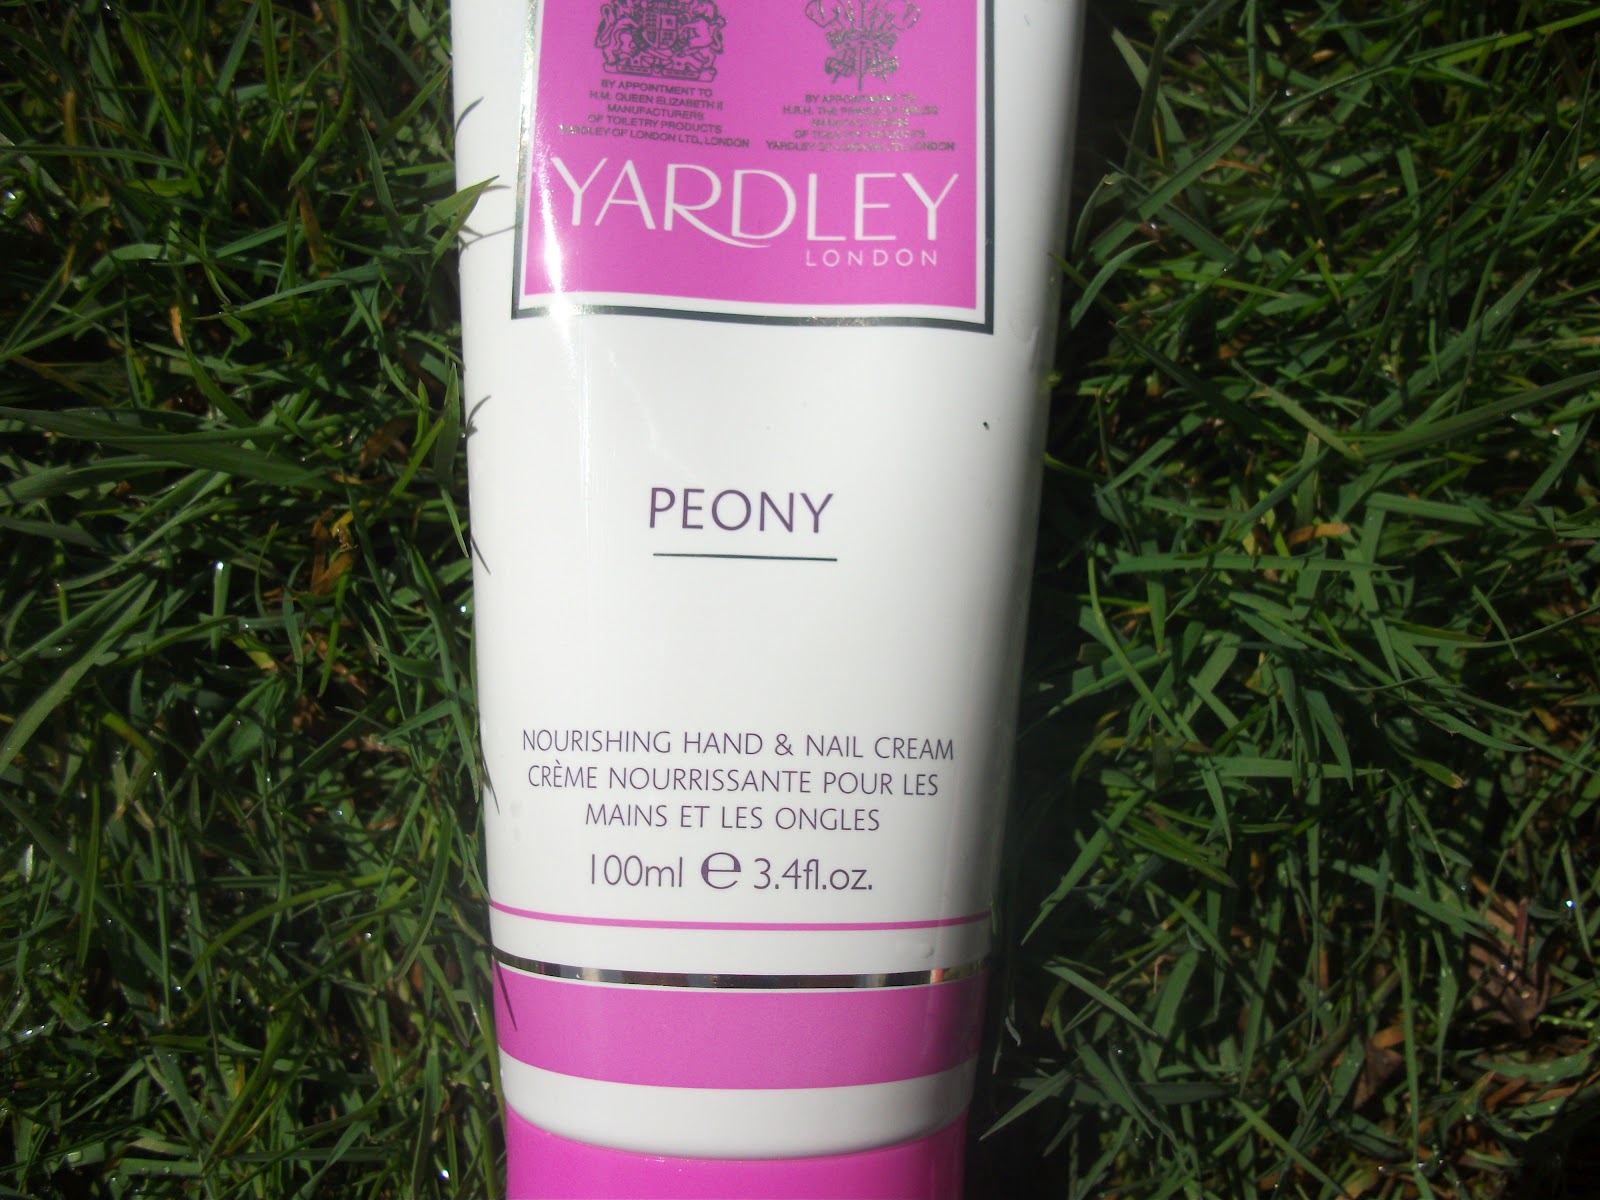
Peony Hand & Nail Cream �3.99
This is currently my favourite hand cream! You can see a picture of it below. I love how thick it is, the scent and fact it's in a squeezable tube. Doesn't make my hands feel greasy & sinks in quickly. Really recommend this hand cream.


Products are available to buy from Boots. If Peony isn't for you they also have Daisy, Rose and Lavender scented products! Check out Yardley's website here 

Have you heard about 'Project Foundation'. I'm starting it in May - Are there any foundations you would like to see a review on? Now you can by telling me here!
*pr samples
I decided to make today's post a product review. I don't usually do these, and I'm sorry if you were expecting something more but I really want to share my new find with you.


What am I talking about? I'm talking about Fran Wilson Nail Tees. I picked them up at my local Sally Beauty last weekend when I went in for some new nail art brushes. They were just hanging there at the counter. After a previous (fruitless) search after hearing tips like these mentioned by a friend ... well, I had to have them.


I'm not sure exactly how much I paid for these in store, but the Sally Beauty website has them for $3.29. I used my loyalty card for a discount, so likely about $2.99 for 120 Tees. It's a bit pricey when compared to the 500 tips you get in a package of Q-Tips for nearly the same price.


However, the Tees are specifically created for nail clean-up. They're not the end all, be all that I hoped and dreamed they would be. I thought they would be perfect to get in around the nail for precision clean-up with such formed tips, but the sharp tip collapses slightly when wetted with nail polish remover. However, it's still sharper than a regular Q-Tip and does a pretty great job cleaning up once you get the hang of wielding the Tee.


As you can see, some ends collapse easier than others.

I'm thinking of trying to use the sharp tip dry immediately after painting each nail. I figure this might work slightly better than using nail polish remover. I'm hoping the Tee will keep its pointed shape and the polish, while wet, will be easily swept up.


All in all, I'm sure there are many other methods of cleaning up your nails. Some probably cost you nothing at all. However, I'm pleased enough with this product to say I will not only continue using what I have but I will buy it again.

Friday, 20 April 2012

Another post already?? Yes! And you'll be getting one tomorrow too and maybe the next day! Are you excited? I know I am.


I'm pretty proud of these nails. It is my first time doing a design like this. I wasn't sure of it at first but I came to enjoy the overall look. I do wish I had gone with my first thought and used brighter under colors, but it is what it is. :)


I started off with two coats of a white polish over my base coat. Then I used a flat nail art brush to paint on each color, beginning with a dabbing motion and using a clear polish to blend them together. After the polish dried I used tape to create a sun ray design. I think this was the hardest part because I don't own striping tape. This meant I had to cut pieces of tape to the correct size. I went through a lot of tape before I finally got the hang of it!


Once everything was taped up, I used one coat of black over the tape, let it dry for a moment and peeled the tape off. It left behind a near perfect sun ray design. Be very careful not to leave the tape on for too long! I did this very thing on my right hand and the tape peeled off a strip of not just the under colors but the two coats of white and my base coat!! Thankfully I was able to touch them up but you could totally ruin your entire mani this way!


The first three pictures were taken in the shade and brightened with my camera's light filter. (My first time using this filter. Let me know what you think.) The last picture was taken in full sunlight. The colors are truer with the last picture.


Polish Used

  • Borghese - Brilliante
  • LA Colors - White
  • LA Colors - Black
  • China Glaze - First Mate
  • China Glaze - Secret Peri-Wink-Le
  • Revlon - Blue Lagoon
  • Funky Fingers - Sugarplum Fairy
  • Sally Hansen - Insta-Dri

Thursday, 19 April 2012

Not all my nail designs work out. I, like everyone else, have off days and disasters. I call today's post the 'Chessur Disaster'.


For those who don't know, Chessur is the Cheshire Cat of Tim Burton's, Alice in Wonderland. This is one of my favorite movies and I dream of one day having a Cheshire tattoo complete with the Mad Hatter's top hat. I love any Alice in Wonderland but Burton always adds a certain flair to everything he touches that I simply adore.


In addition to being a simple tribute to such a wonderful movie, it is National Pet Month. I have my own pets that I adore, but I would love a Cheshire Cat of my own. Who wouldn't??


As you can see, this isn't my best mani. I tried something a bit different and it didn't work out. It happens to all of us. The thing to remember is: don't dwell. Seriously! Pick yourself back up, mop up those tears (if there are any), and move on. Thankfully, I realized what a disaster this was before I completed more than this hand. Yes, this turned into a one-handed design! The polish stayed on only long enough to take these pictures and then I moved on. C'est la vie!


Polish Used

  • Borghese - Brilliante
  • New York Color - Sidewalkers
  • New York Color - East Village
  • LA Colors - Black
  • LA Colors - White
  • Sally Hansen HD - Resolution
  • Sally Hansen - Fuchsia Power

Wednesday, 18 April 2012


When I think of Kleenex i immediately think of tissues. But recently Kleenex have launch a new cleansing range. It includes shine absorbing sheets, facial wipes, facial cloths & these eye make up removal wipes. The only thing on my mind when a new product launches is - 'Is it any good?'

Well, I have been using these for a few weeks now to help remove my eye make up and they have been doing the job nicely! The wipes are quilted and contain natural fibres - they also say they're suitable for sensitive eyes and removing waterproof mascara. I haven't been able to test these out on any waterproof make up so can't comment on that however, i used some eye make up the other day & my eye got really itchy and a lump began to appear under my eye! I took a hayfever tablet and used one of these wipes to take the make up off & my eyes return to normal after half an hour.

These retail for �2.99 (24 in a pack) & are currently on offer for �1.99 in Superdrug. I think this is a decent price and would recommend these wipes. They remove my make up gently and don't irritate my eyes.

Tuesday, 17 April 2012

Hello all you lovely followers! I hope everyone is doing okay. I was going to have this posted sooner but I got horribly sick this weekend. I'm happy to say that I'm feeling much better now though.


Today's post is a very simple mani, but one that I think is so perfect for summer.


Summer is the perfect time to catch the eyes of those around you, and what better way than with such of burst of color?


The thing to remember with neon polish is that you get the most color when it is layered over white. That's why, for this mani, I used two coats of white polish under two coats of neon before adding one coat of white crackle. This makes the neon color really pop.


Polish Used

  • Borghese - Brilliante
  • LA Color - White
  • Funky Fingers - Kingston
  • Funky Fingers - White Scales
  • Sally Hansen - Insta-Dri

Sunday, 15 April 2012

During the month of May I will be trailing a different foundation each week. 'How does this affect me?' I hear you ask; Well, YOU get to decide what foundations I review.

WHY ARE YOU DOING THIS KIA? 
Most blogs you read will be make up review after make up review and you will have no input on what reviews you read about. I want this to change on my blog. I want my readers to be able to say what they want to read about, after all I'm not the one who has to read it!

SO WHAT IS PROJECT FOUNDATION?
Foundation is one of my favourite make up items to buy, in my last post 'Foundations to suit Pale Skintones' (read here if you missed it) went down well and got a lot of positive feedback. I have taken that feedback on board and decided to launch Project Foundation next month. This means on Make Me Up in May you will see 4 foundation reviews, one each week. The review will be in depth, detailed, photographed and more importantly chosen by you. I am on the hunt to find the perfect foundation and I'm sure some of you are too! This project aims to help you & me get closer to finding it. And also just because I like trying out different make up products!

HOW WILL YOU CHOOSE THE FOUNDATIONS WE SUGGEST?
Either by popularity or randomly using Radom.Org and of course availability - I need to be able to buy the foundations easily!

HOW CAN I HAVE MY SAY?
You can choose what foundation you want to see me test out. Maybe it's new and you want to read a review before buying? Or it's something you've had you eye on for a while? Or you already own it and want to hear someone else's opinion? 
  • Leave a comment below
          OR
Some ideas to get you going;
Whatever foundation you want to see me test out, as a make up lover it only seems right to get involved! You can choose more than one. Hopefully this project will help save you some pennies - hate it when you buy a make up product that turns out to be rubbish! For you to get the most out of this product share it! The tool bar below allows you to do this effortlessly.  

Can't wait to hear your thoughts! 
Kia x