Hello everyone. I'm in the midst of a cold and debated even doing a post today, but thanks to some help from the lovely women on my Facebook Page I was able to beat the sore throat and tone down the other symptoms of my cold. You can totally thank them for this post!
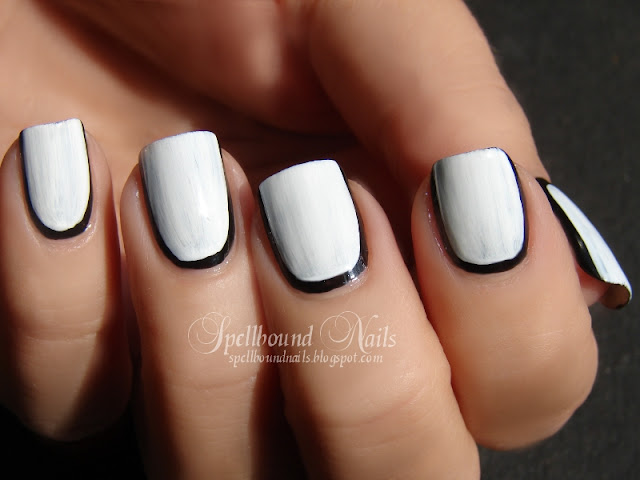
I've been waiting to post these nails for a while but there were always other posts that needed posted first. Well, I'm making today the right day. Lustrous Lacquer wanted to see border nails and this is what I came up with.
Start out with a base color. This will be the color of your borders. I used two coats of L.A. Colors Black. The next step is to paint your nails again, but leave a border around the edges. I found it easier to simply use the nail polish brush and be a little more careful around the edges, but you could use a nail art brush or a dotting tool to lay down an outline first if you don't feel comfortable jumping right in. You'll go back later and create a tip so don't worry if the tips look messy or the black shows on the edges. This picture shows one coat of L.A. Colors White. I used three coats to completely cover the black.
Here's where you complete the border by repainting the tips with your border color. Remember to round the edges of this tip to give a nice oval shape to the borders. I let this part of the mani dry completely and then put on a layer of top coat to give myself a nice stamping surface.
I used the rose image on m65 of my Born Pretty stamping plates. This is the one and only time I got such perfect images on all my nails. I'm sure it has something to do with the L.A. Colors polish I used. It's a very slow to dry polish, and I worked extra fast. Be sure to let your nails dry completely before stamping and be sure it's completely dry before using any top coat. With the black and white even the smallest amount of smudging or running will be immediately visible!


0 comments:
Post a Comment